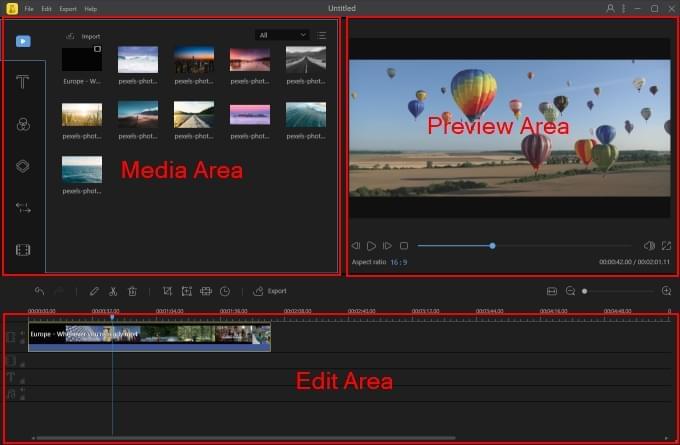
If you are the first-time user, please take a look at the interface layout of BeeCut.
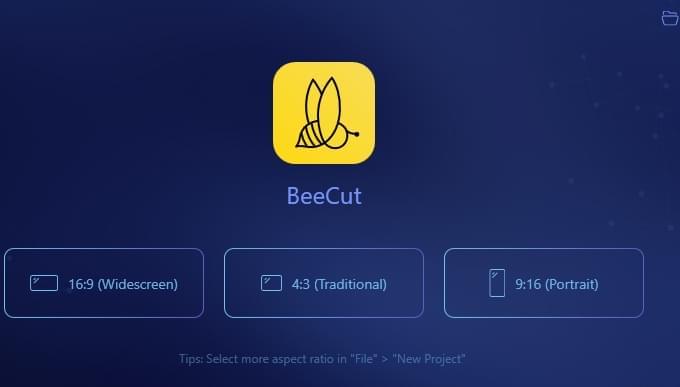
Choose Aspect Ratio
You need to choose aspect ratio every time you open BeeCut. After selecting it, you can also change it by clicking “File” > “New project” > choose other aspect ratios.
Media Area
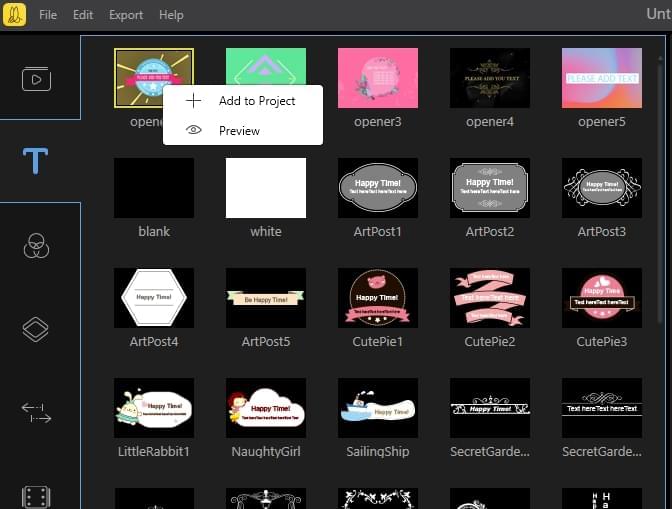
After entering its main interface, you can click “Import” or drag files or folder to upload files to the program. All the files imported will appear in Media area. There are text, filter, overlay, transition and element templates on the left side. You can preview the media files by clicking. Right-click the media files and add them to track or drag them to track directly.
Preview Area
The media files including video and picture can be previewed in preview area in real time.
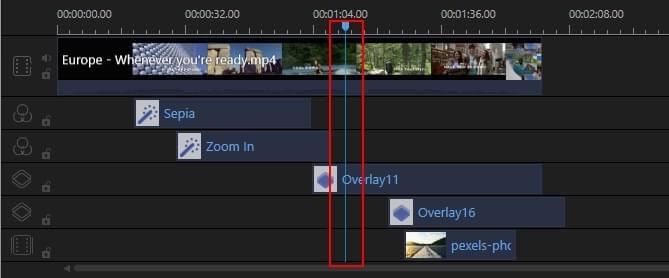
Edit Area
The edit area is made up of toolbar, timeline, track and playhead.
- There are many tools in the toolbar such as undo, redo, edit, split, crop, zoom, mosaic, set duration (set duration for overlays, transitions, etc.) and export.

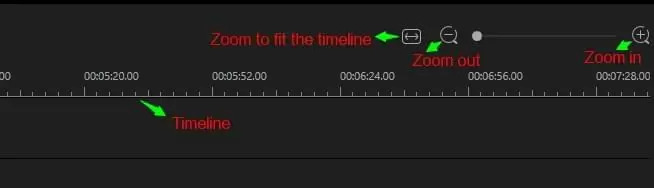
- To edit every frame accurately, you can mark the position for editing by using mouse to slide the timeline, or click “zooming timeline”. Each frame can be scaled to timeline.
- You can add two filter, overlay, text, audio and PIP tracks simultaneously. Based on this, you can enhance video effect more effectively.

- Drag the playhead to mark the position where you want to edit via your mouse.


Leave a Comment