
Creating a great video is not that easy. There are lots of parameters to consider. As for many, making a video nowadays is easier with great technology and different video editing tools. One aspect to consider includes suitable audio. Because adding music to a video will make it livelier and pleasing to viewers. To help you learn how to add audio to video, listed below the top 3 tools we found.
BeeCut
If you are looking for a perfect video editor, then BeeCut is the right tool for you. It provides features that are both convenient and very easy to use. This dynamic tool has a wide variety of elements, overlays, font styles and font sizes. Furthermore, BeeCut lets you add background music making your videos livelier and more realistic. To further learn on how to add sound to a video, see the steps below:
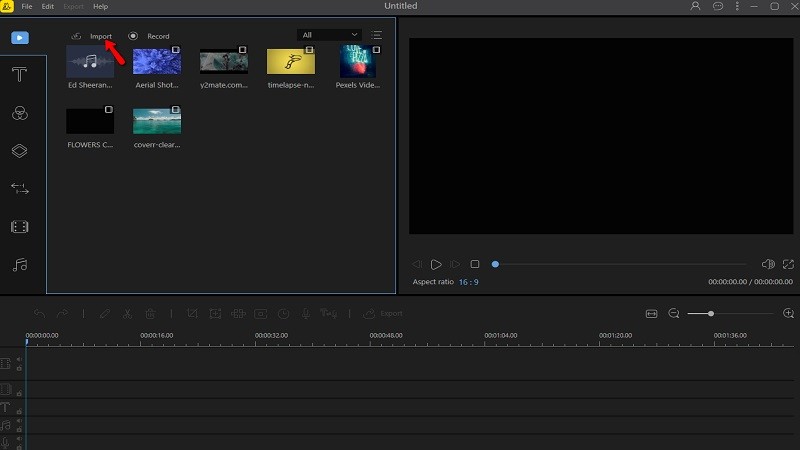
- Log on to its site and run it on your computer and then choose an aspect ratio.
- To add a file or video, tap on the “Import” file button.
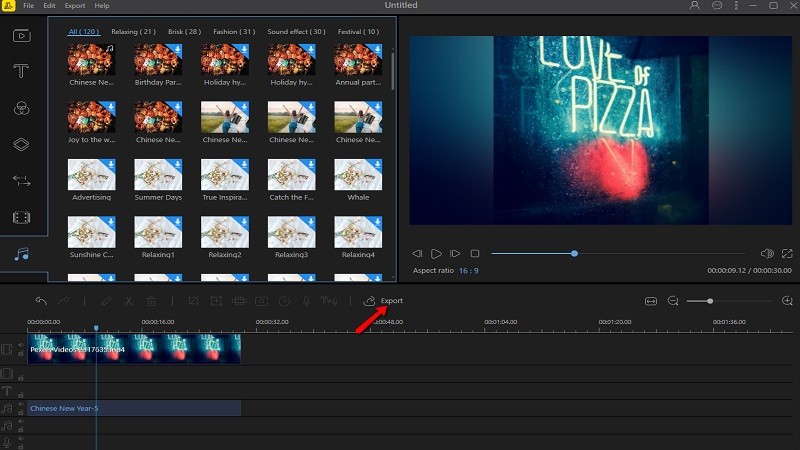
- To add an audio, you can either download songs or attach the built-in music simply tap on the “Music” icon.

- Once finished, hit the “Export” button to directly save the video to your files.
Kapwing
The next video editor is Kapwing. This multi-functional tool provides all kinds of functions and features that the all the best video editors can offer. Kapwing is easy to install and can be accessed online in just a few clicks. It is available for iOS, Android mobile devices and on computers too. Videos created using this tool are one of a kind because of its 3D animations and other visual effects. Additionally, Kapwing offers audio tools to add sound elements to your video. To learn more on how to put audio over a video, follow these simple steps:
- Log on to its site using any browser.
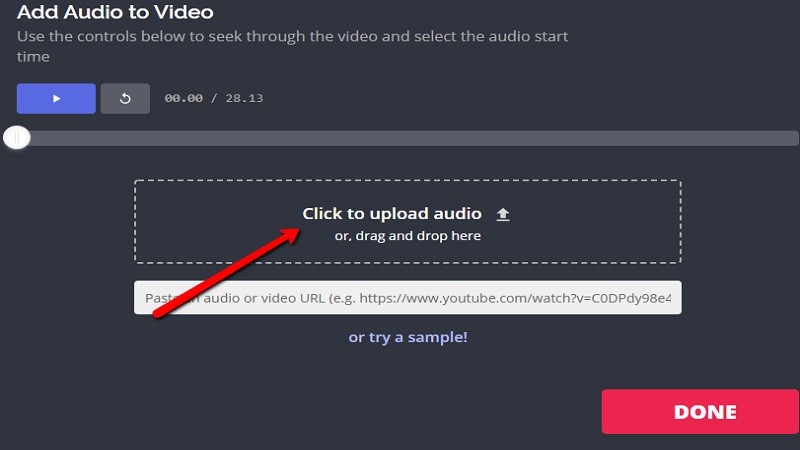
- Once logged in, select the “Click to Upload” button.

- You can add music using the built-in background music by hitting the “Click to upload audio” button.
- Click on the “Done” button once finished and you can now listen to your video with background music.
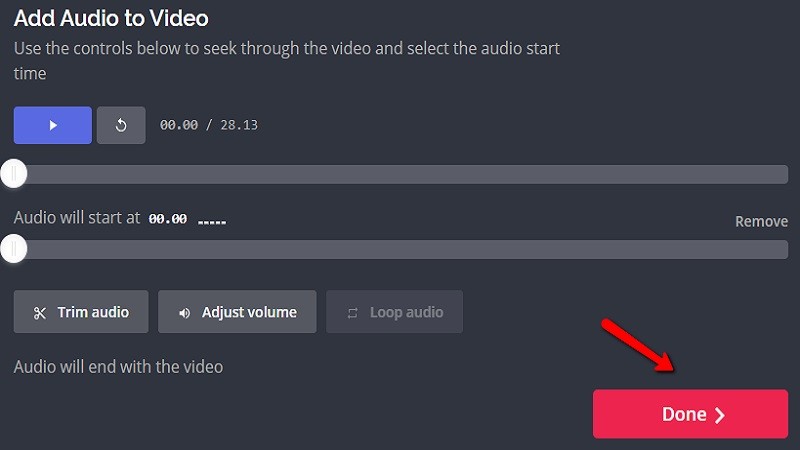
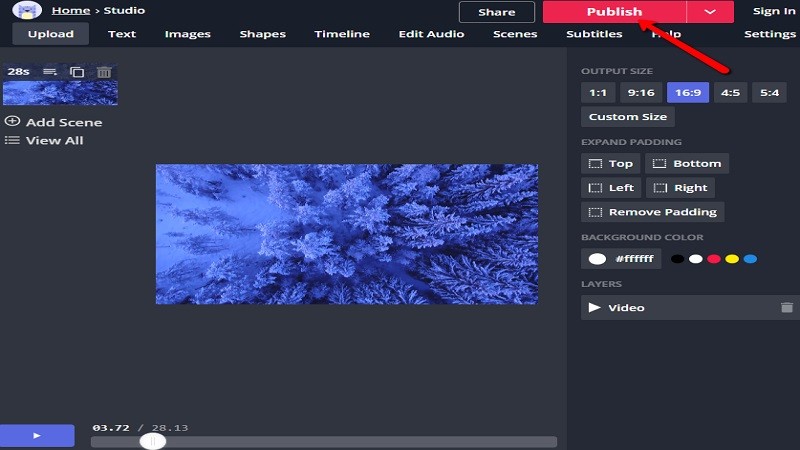
- To save your video, click on the “Publish” button.
OpenShot
Let me introduce to you the third and last tool that is useful in video editing. OpenShot provides title templates, title creation, sub-titles, and offers 400 transitions that allows you to adjust the sharpness of the video. In addition, it supports different kinds of file formats and file conversions. It also offers unlimited tracks that allows you to adjust and add audio on your video. This kind of tool is very efficient, especially for beginners because it has a user-friendly interface. To understand how to add audio on your video, take a quick view of the steps below:
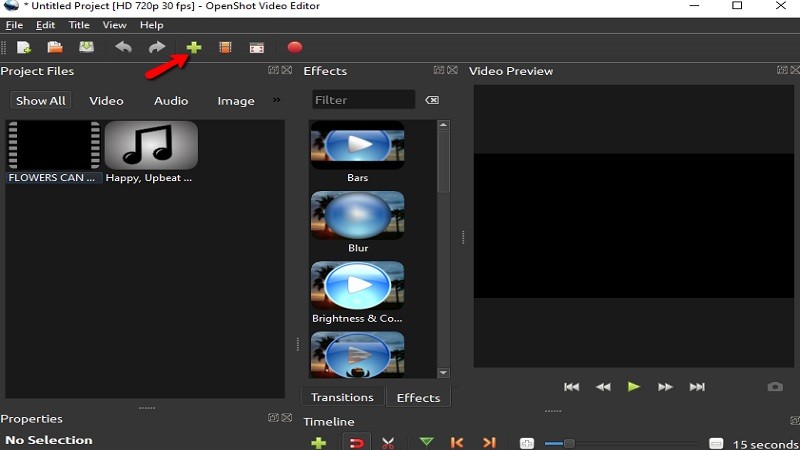
- Download the program using any browser and run it on your computer.
- To import a file or video, hit the “+” sign icon.
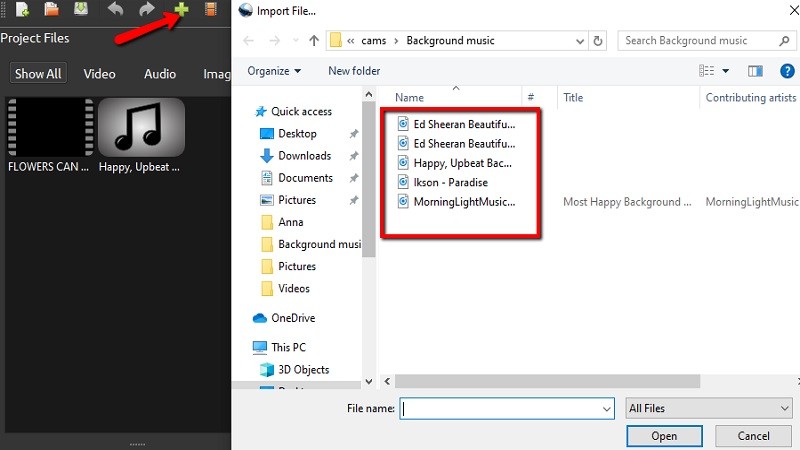
- Also, click on the “+” sign icon to add music on the video, then simply drag and drop it on your timeline.
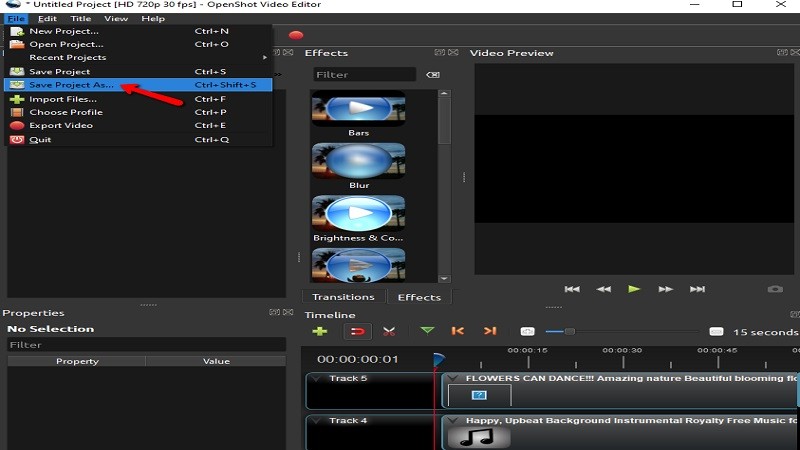
- Once done, you can now save your video by clicking the “File” button then select “Save Project as” button.
Conclusion
Now that you have learned about some tools for how to add sound effects to a video, you can now easily create a video with the background music you want. Also, now that you know their features, BeeCut seems like the best right?
Leave a Comment