
One of the best quick escapes from the busy world is traveling. Many people nowadays travel to relieve stress and for their own pleasure. Take photos and videos to capture your fond memories. Because you cannot return to the past, reminisce with your videos whenever you want. With that in mind, we created and listed 3 tools that can be useful on how to make a travel video. To better understand how they work, read on.
BeeCut
The number one tool is BeeCut. This extraordinary program provides multi-functional features that lets you create a unique video. It also offers many features convenient even for beginners like cropping, trimming an audio, adding overlays, elements, adding texts and transitions. Furthermore, this tool has no complicated settings, it will let you finish your work in an easy way. In addition, this tool can help you customize your videoconveniently. BeeCut can also help you with how to make a travel vlog. Get started with these steps:
- First, download the program using any browser.
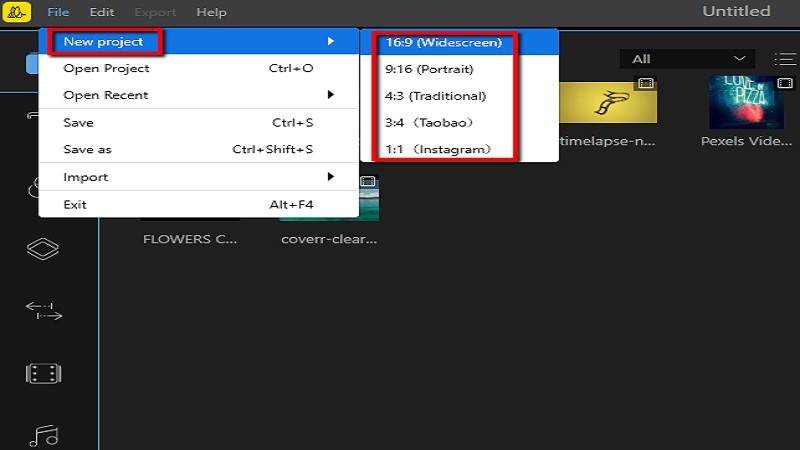
- Next, to create a video, click on the “New project” icon, then choose an aspect ratio.
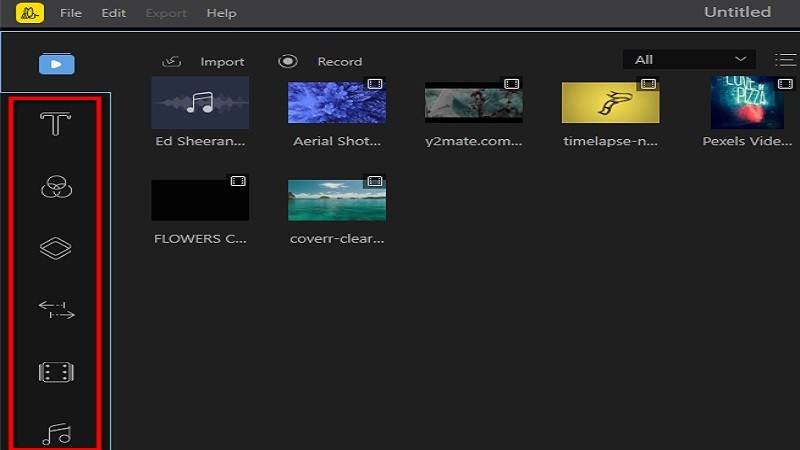
- Select the editing features to start creating cool videos.
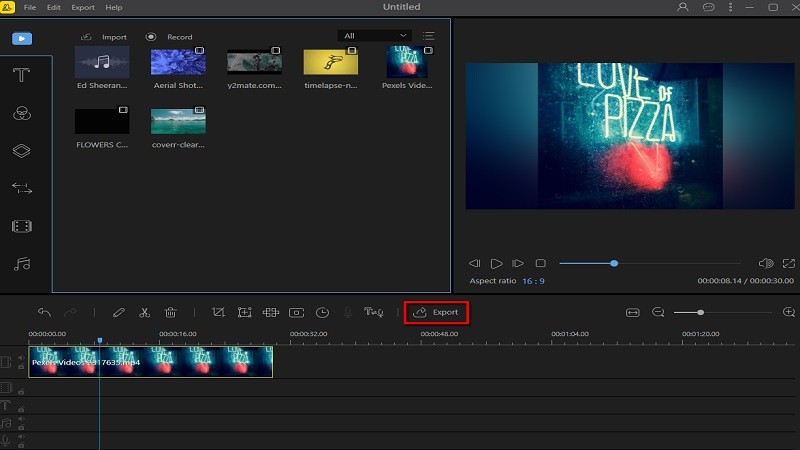
- Lastly, to save the video, hit the “Export” file button.
OpenShot
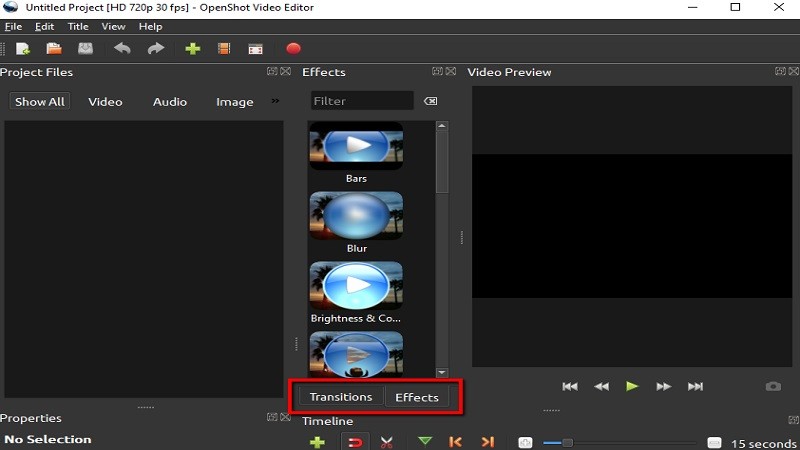
The second tool we suggest is OpenShot. This dynamic tool offers digital effects including brightness, gamma, hue, greyscale, chroma-key (blue screen/green screen) and many more. It also provides time mapping and speed changes on clips (slow/fast, forward and backward). It also supports many video, image, and audio formats. OpenShot also comes with more than 20 unique animations, and lets you adjust the colors and sizes.
In addition, compositing, adding overlays, adding watermarks, transitions are also included in its range of cool features. It can also help you create memories while traveling. In short, OpenShot can be used as a travel video maker. Refer to the steps below to see how it works:
- First, log on to its site using any browser.
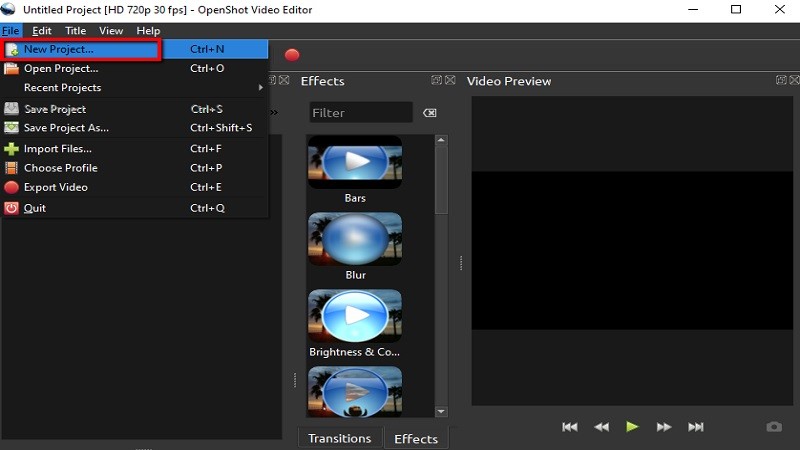
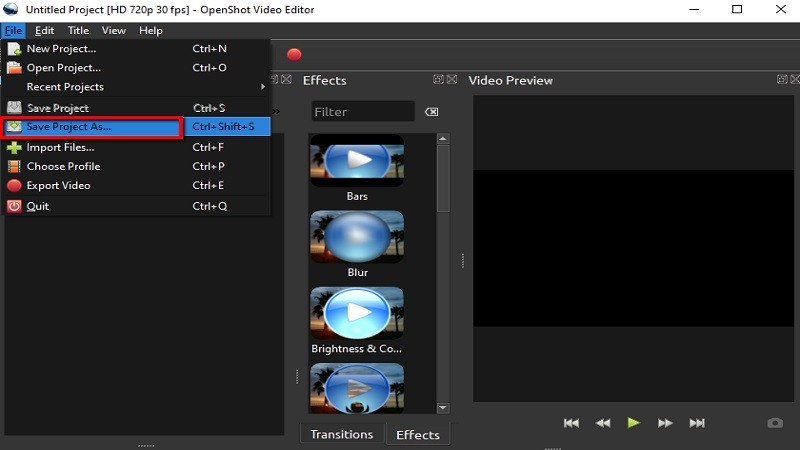
- Next, to create a video, select “File” then hit the “New Project” button.
- You can now choose any of OpenShot’s editing features.
- Lastly, to save the video, hit “File” and select the “Save Project as” button.
AVS Video Editor
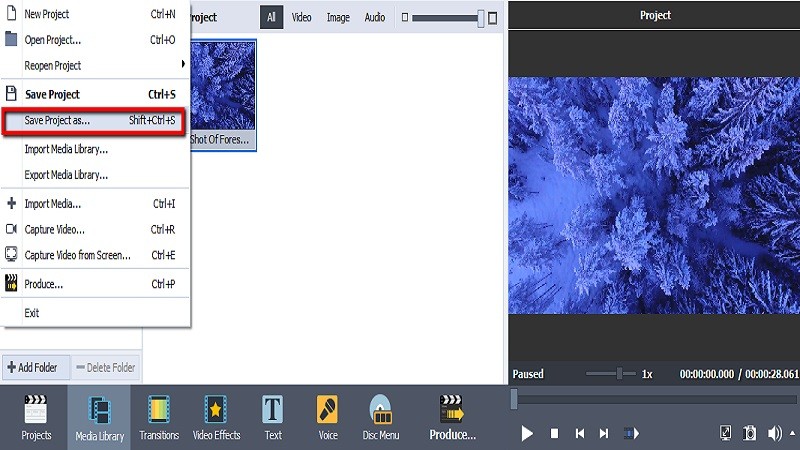
The third and final tool that we want to introduce is AVS Video Editor. This simply amazing program lets you create beautiful memories from different occasions through the use of its basic editing features. This tool lets you crop, merge, rotate video, compress video and cut a video. Furthermore, this tool also offers mute, speed, stop motion, filter video, flip video, resize video, reverse video, rotate and loop video. In addition, AVS Video Editor can help you capture moments while traveling. See the steps below to learn how it works.
- Download the program using any browser.
- Hit “Import Media Files” to select files from files.

- To edit the video, select the editing features.

- Once done, select “File” and hit the “Save Project as” button.
Conclusion
The 3 tools mentioned above are the simplest and most convenient tools on how to create a travel video. Even with all the features and main functions available, BeeCut still topped them as the best.
Leave a Comment