
2 Ways to Replace Face in Video
Use BeeCut
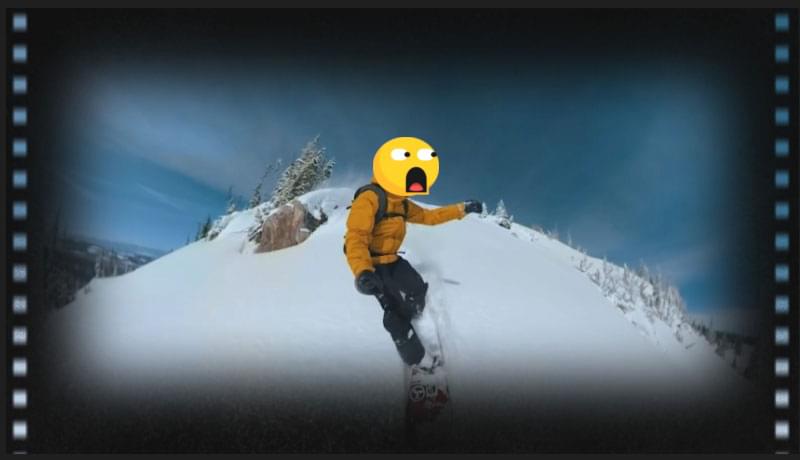
The first method is by using BeeCut. This is an all-in-one video editor which can change any face in a video clip. It has a simple and clean interface so that even the newbies can easily use it. In just a few clicks, the face you wish to change can be replaced. This software is jam-packed with video editing functions, wherein users can design their videos by adding text, elements, transitions, filters and overlays. Read the full guide below on how to change a face in a video using this program.
- On your favorite browser, you can learn about BeeCut’s main features by visiting its official website. Click the Download button to get this program directly.
- After it has finished installing, launch the software and select your desired aspect ratio for the video.
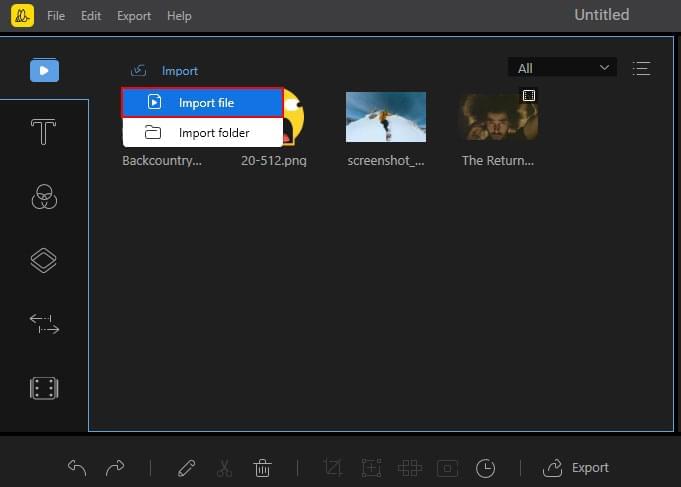
- On the main interface of the program, simply hit “Import” > “Import file”, then select the video clip you want to edit and the face image you will use.
- After that, hit the “+” icon on the video clip to add it to the timeline. Then, drag and drop the face image to the PIP track. Adjust the area of the face image and place it on your desired position.
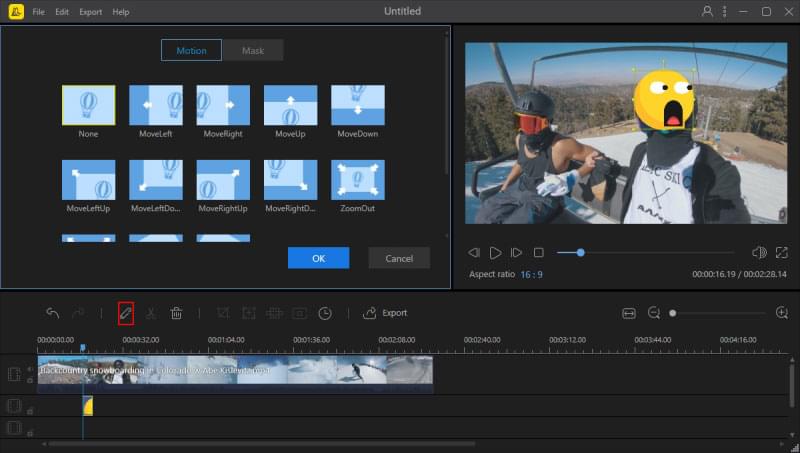
- When you are done, click the “Export” icon to save the video on your PC.
Use Adobe After Effects
An alternative video face replacement software is called Adobe After Effects. This is one of the most popular video makers which can help you out with your problem. With its video editing functions, it helps you replace a face in a video. Users can cut the video, add some effects, add background music to the video and so on. If you love making videos for movies, this is a great tool you can use. Here are the steps to follow in order to learn how this tool works.
- Firstly, download the software from its website and then install it on your computer.
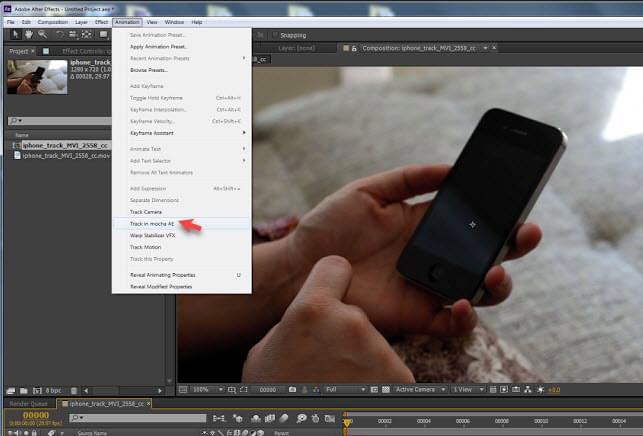
- Run the tool once installed. To upload files, simply drag and drop the files to the program. Then, click the file and hit the “Animation” tab. Choose “Track in Mochae AE”.
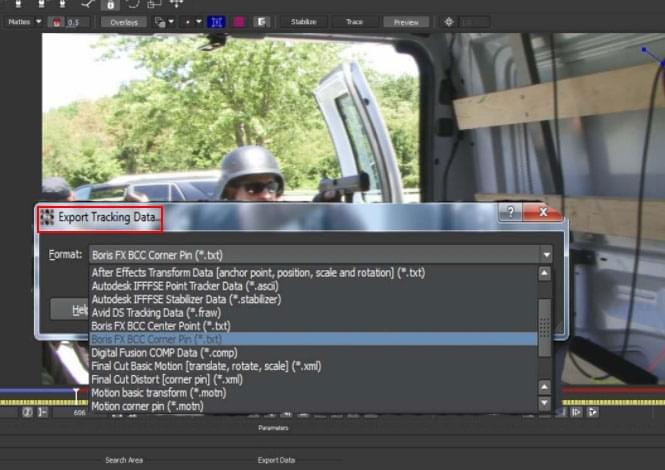
- Next, select an area all over the face in the video that you want to change, then click “Track”. After that, hit the “Export Tracking Data” and click “Copy to Clipboard”, then move to AAE. Afterward, create a null object.
- Once the null object is created, paste the file that you copied. Select the image you want to add and then place it on the video. Position it depending on your preference.
- Export the video to save it on your PC.
Comparison
The tools presented above are the most efficient and effective compared to other video editing programs. Both programs have different techniques that show you how to change a face in a video. If you want the easiest method, we would recommend that you use BeeCut since it has a simple interface yet powerful video editing functions. On the other hand, you can try Adobe After Effects if you want a professional video editing tool. However, this tool requires a deeper understanding due to its user interface. It might not be suitable for users who are not familiar with video editing.


Leave a Comment