Best video splitters to use
Split video on Windows and Mac
BeeCut
The first video cutter and joiner that you can use for both Windows and Mac OS is BeeCut. This is a full-pledge video making program that is capable of creating videos stunning videos via its numerous editing functions that include the split function. Plus, it offers various filters, effects, and transitions to make your video even better. To edit with this tool does not require any video editing skill, simply upload a video place it into the timeline and you’re ready to go.
To split video with this app, here’s what you need to do.
- Install the program after getting it from the link below.
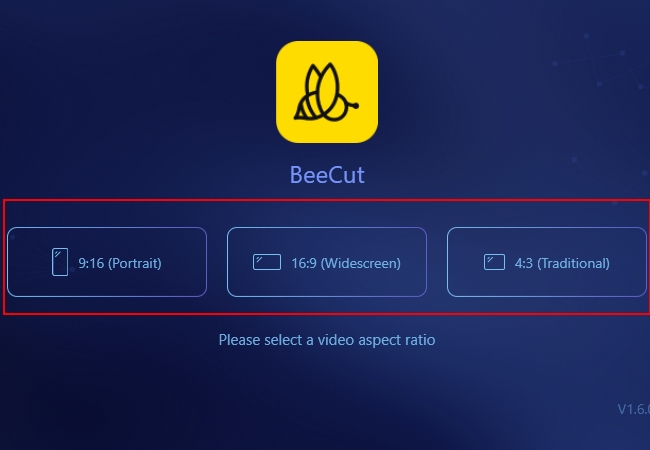
- Open it and choose the resolution that you prefer for your video task.
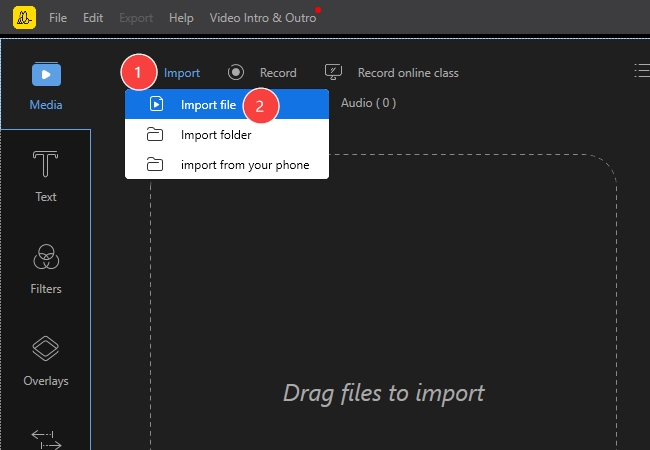
- After that, upload the video that you which to edit by clicking the “Import” button, pick “Import file”, choose the video and then open it.
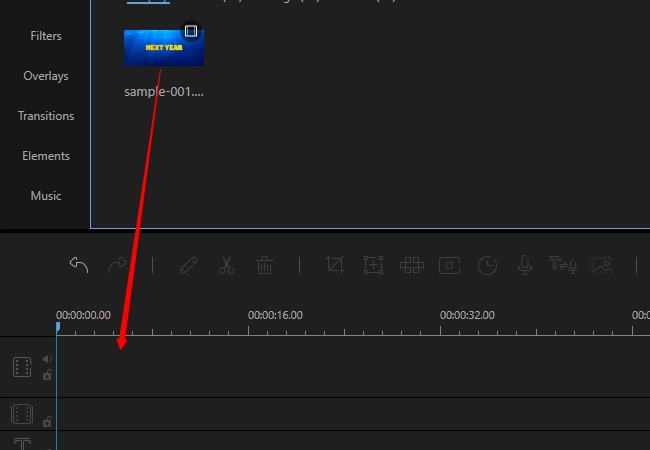
- Next, is to move the video into the timeline, to begin with, the editing.
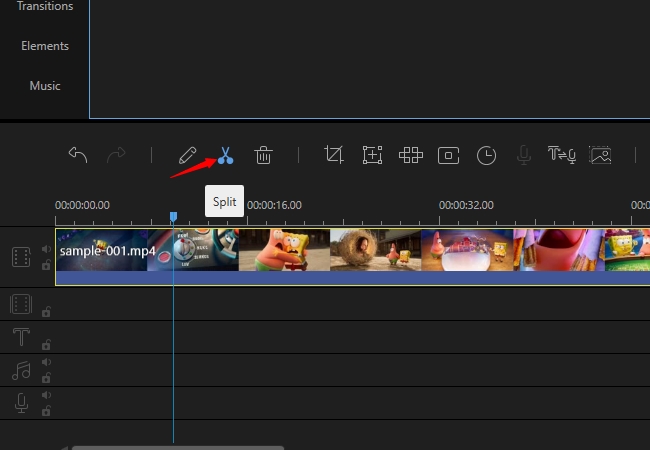
- Now simply move the slider into the part that you need to split and then hit the “Split” button to proceed with the cutting.
- From here you can delete the split part or add a new one. If you like you can insert texts, filters, overlays, and transitions.
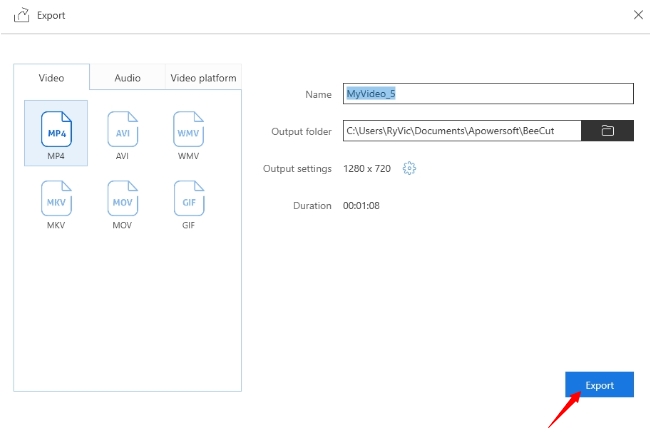
- Once done, you can render your video by hitting the “Export” button, look for the video format you desire along with the title, and then click “Export” to finalize.
Video Splitter on mobile devices
KineMaster
This is a well-functioning video editing program that offers basic video editing functions and additional effects to modify your video clip further. Unlike other mobile editors, this tool offers a timeline that looks the same as those of the desktop editors. Plus, it’s not complicated to use, just make a few taps and you’re ready to save.
In splitting a video clip using this video splitter, simply check out these steps.
- Get and install this app from PlayStore.
- Open the app and press the button at the center and then select a resolution that you like.

- After that, choose a video to use and tap the check icon located at the upper right portion of the screen.
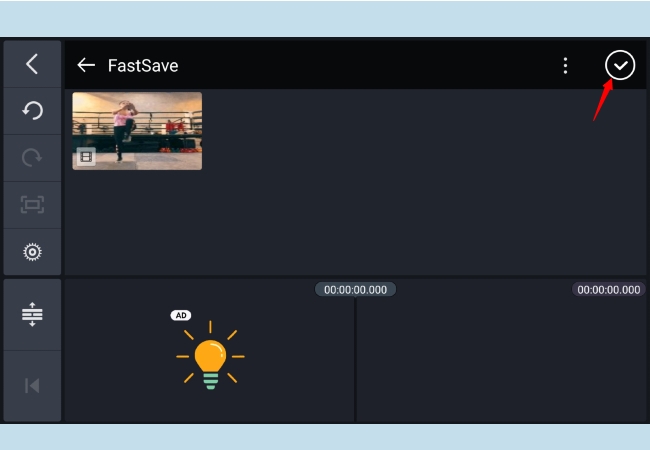
- To split, just tap the video on the timeline and move the clip until you reach the point where you like to cut.
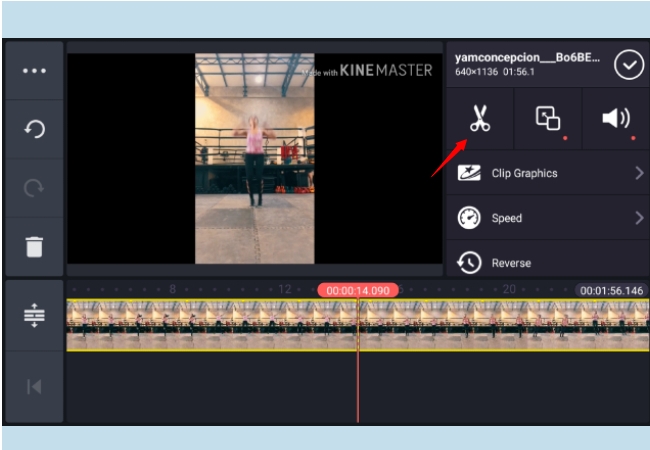
- Another window will then appear, look for the scissor icon, and tap it to activate the split function.
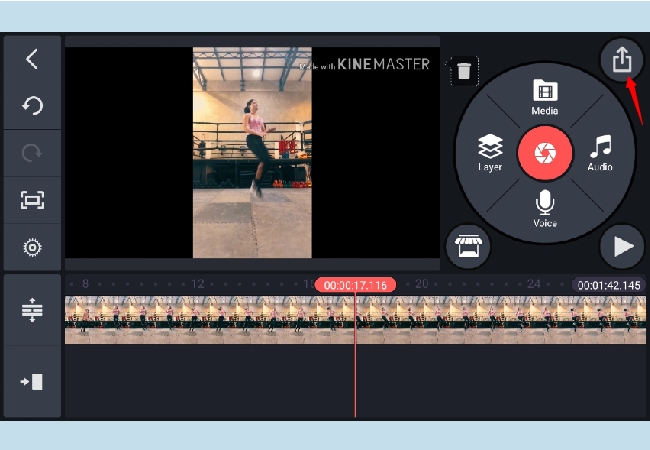
- To save the changes made, press the share icon located at the top right part of the screen, select the Bitrate you like and then tap “Export”.
BeeCut (Mobile)
The next mobile video splitter to utilize on your video project is BeeCut. It is available on AppsStore so you can use it one either mobile platforms. This well-rounded video editor provides the most commonly used video editing functions including split, speed, reverse, and rotate. It also offers additional enhancing effects that include adding texts, music, filters, etc. And the good thing about this application is that it provides a very easy to use interface, and it does not leave a branding on the output video.
To use this video cutter and joiner here are the guided steps.
- Download this video editor from this button.
- Once installed, open the application and tap the “+” icon located at the center of the tool.
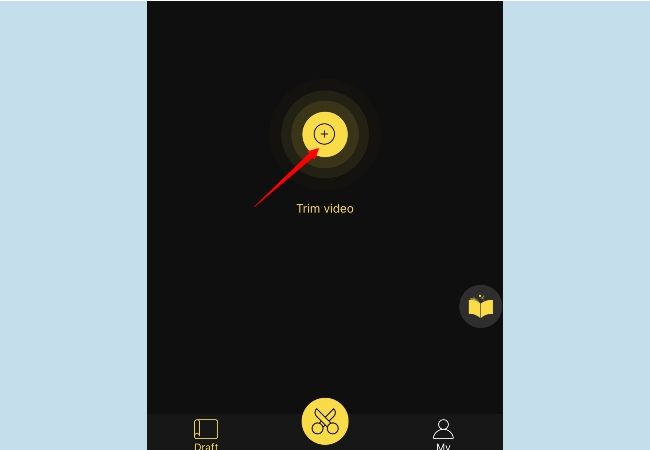
- After that, pick the video to edit and then press “Next step”.
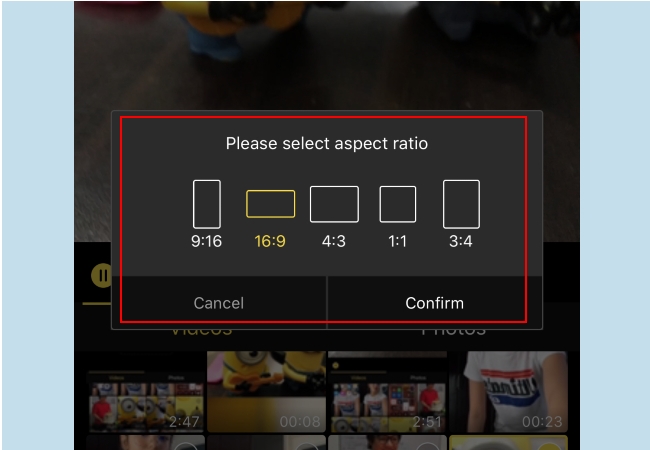
- Confirm the resolution to use and then hit “Confirm”.
- Next, is to move the video into the part to cut, hard press the video clip and you’ll notice the “Split” function to appear.
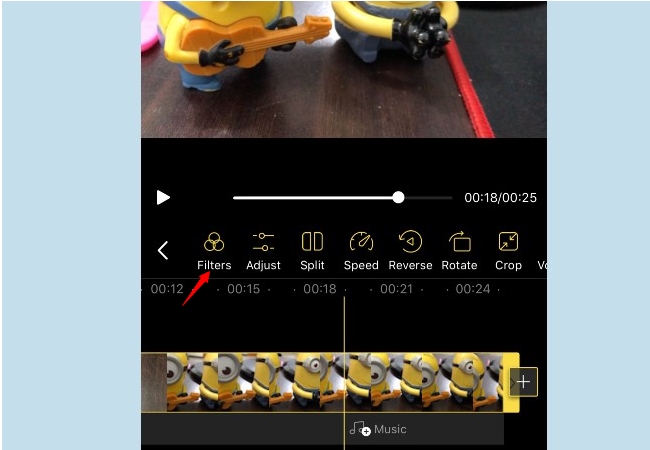
- Now all you need to do is to tap this function to cut the video clip.
- If you prefer, you can adjust, split, speed, reverse, rotate, add music, filters, and many more.
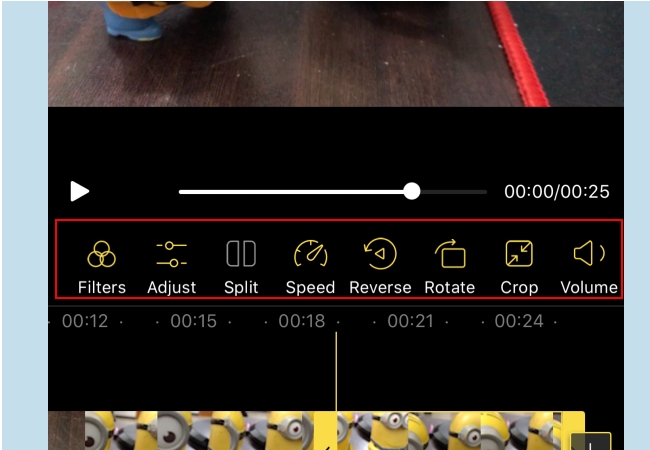
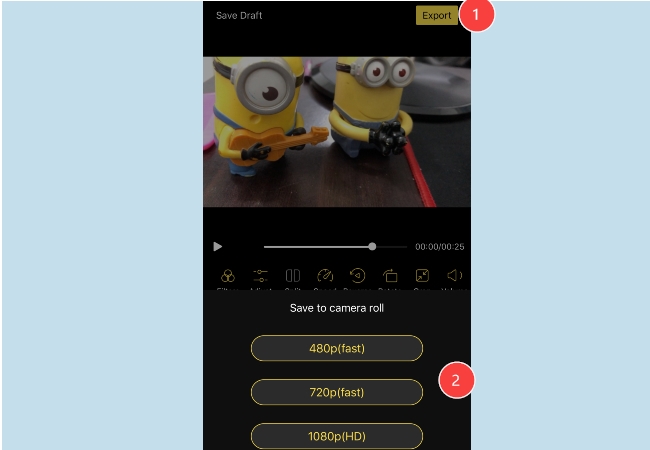
- To render the video, press “Export” choose the file size, and tap it. The video will then be saved under your picture gallery.
Conclusion
So whenever you need a video cutter and joiner for your video tasks then you can simply refer to the tools provided above. All of these tools can split videos easily without any hassle. For beginners, it’s better to familiarize yourself with the video editor that you wish to use to achieve better results.


Leave a Comment